Friday, January 25, 2019

Oakridge Backdrops: Enhancing the Base

In a previous post 2 weeks ago I discussed establishing a "base" on the backdrop for further detailing and scenery development. In Oakridge, a town that is surrounded by prominent hills, I wanted to take some time to work on developing my base painting at a higher level of detail, specifically detailing the prominent features in the background before I move on to any foreground painting.

To lay out the hills behind Oakridge, I used Bing Maps (Google does not have Oakridge in Streetview) as reference for the surroundings. I simply lightly sketched the real background to the yard onto my backdrop, and then filled in those hills with my mid-back ground paint color.


Background hills laid out behind Oakridge.


Base background hills directly behind Oakridge.

One of the things I really struggled with initially is color. I included a photo of my palette just to give an idea of some of the colors I was working with. For starters, I have moved away from cheap craft acrylics and am now working with artists acrylics. In my previous posts I wanted to use the cheaper paints as I experimented, but now with more established techniques am working with higher quality paint. I used a blue, yellow, black, and white and mix colors from there.


The photo below demonstrates how I am working the detail the base. First I add a colors that in ever so slightly darker than my base which is serving as my mid-range value. This establishes my dark shadows. From there I add 2-3 layers of green to form the trees. Here I have only done a small area, but the results are worth the trouble.

In progress of background hill work in Oakridge

With time I will update the progress of this painting effort, but wanted to document this process within approximate time frame to my post on "Base Painting" to demonstrate how I am working in subtle detail into my backdrops. 

Friday, January 18, 2019

Spline Roadbed 2: Risers to Track

Before installing track on my spline roadbed, I needed to set the grade out of Oakridge. For the remainder of the mainline up to Klammath Falls the track climbs at 2.5% starting immediately in Oakridge. When I built my benchwork I took the grade into account, however in the Salmon Creek area directly adjacent to Oakridge I originally planned to use 1/2" plywood for my subroadbed, not my 1" tall spline. As such, I needed to notch the benchwork on one of the joists to allow for the appropriate grade. 


Notch marked and ready to be cut out. Red/black wires are mainline bus wires while the green/white are for the future Pope & Talbot Mill.


Roughly cut with coping saw and chisel. Cleaned the cut with a wood rasp and sanding block for a smooth fit.


Fitting the spline into the notch, which set the proper grade out of Oakridge. Secured to benchwork with countersunk #6x1.5" woodscrew.

In places where the spline rose above the height of the benchwork, I used 1x3 premium lumber cut to height as risers. I have found this to be the best for the spline in other areas of the layout. Again the spline is attached to the benchwork with #6 screws. 


Riser installed in Salmon Creek area. 


Risers installed over what will be a much scaled down version of Salmon Creek. Note the faint pencil lines on the fascia which will be cut out to match profile of terrain. 

After risers were secured, I added track directly to the spline with clear caulk for adhesive. I used a plane to smooth any roughness in the spline and followed that with a sanding block before installing the track. Feeders were soldered to the rains and before long the first (albeit short) freight rumbled its way out of Oakridge and  further onto the Cascade Sub.

A short freight makes its way up the hill after waiting in Oakridge for track to be completed. 

With one more short section of spline to install, roadbed is 95% complete for the layout with 50% of the run fully operational. Soon the busy mainline will open for UP revenue freights and the Amtrak Coast Starlight!

Friday, January 11, 2019

Backdrops: Initial installation to base scenery

More than anything on my posts regarding the railroad I have discussed my techniques for painting the backdrops on my Cascade Sub. For one, it is, in my opinion, more interesting than benchwork or wiring, but also backdrops can make or break the realism of a railroad. Since the start, my philosophy has been to great an element of believable depth without painting every single tree on the distant hills. Over the past year or so through both painting and thought on the process, I have revised my previous techniques into a three phase process: Installation and prep, base scenery, and final details. In this first post I will discuss my initial installation and painting to base scenery.

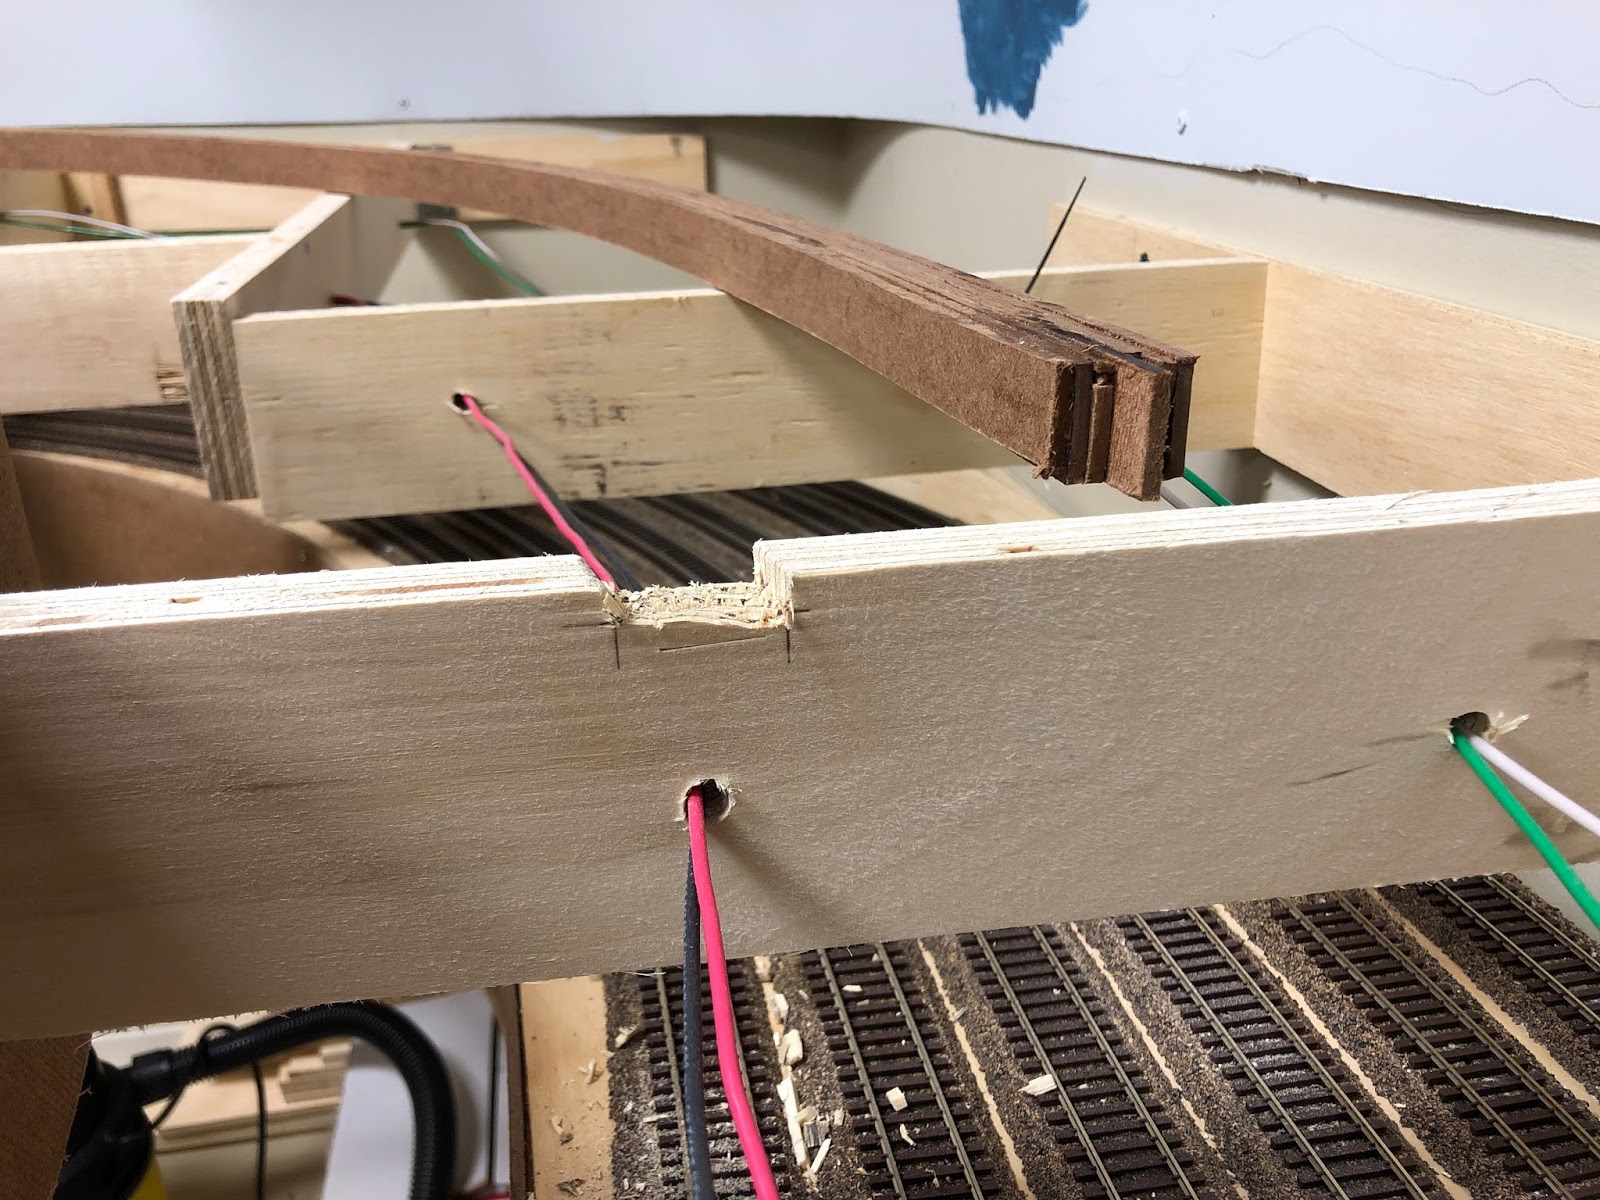
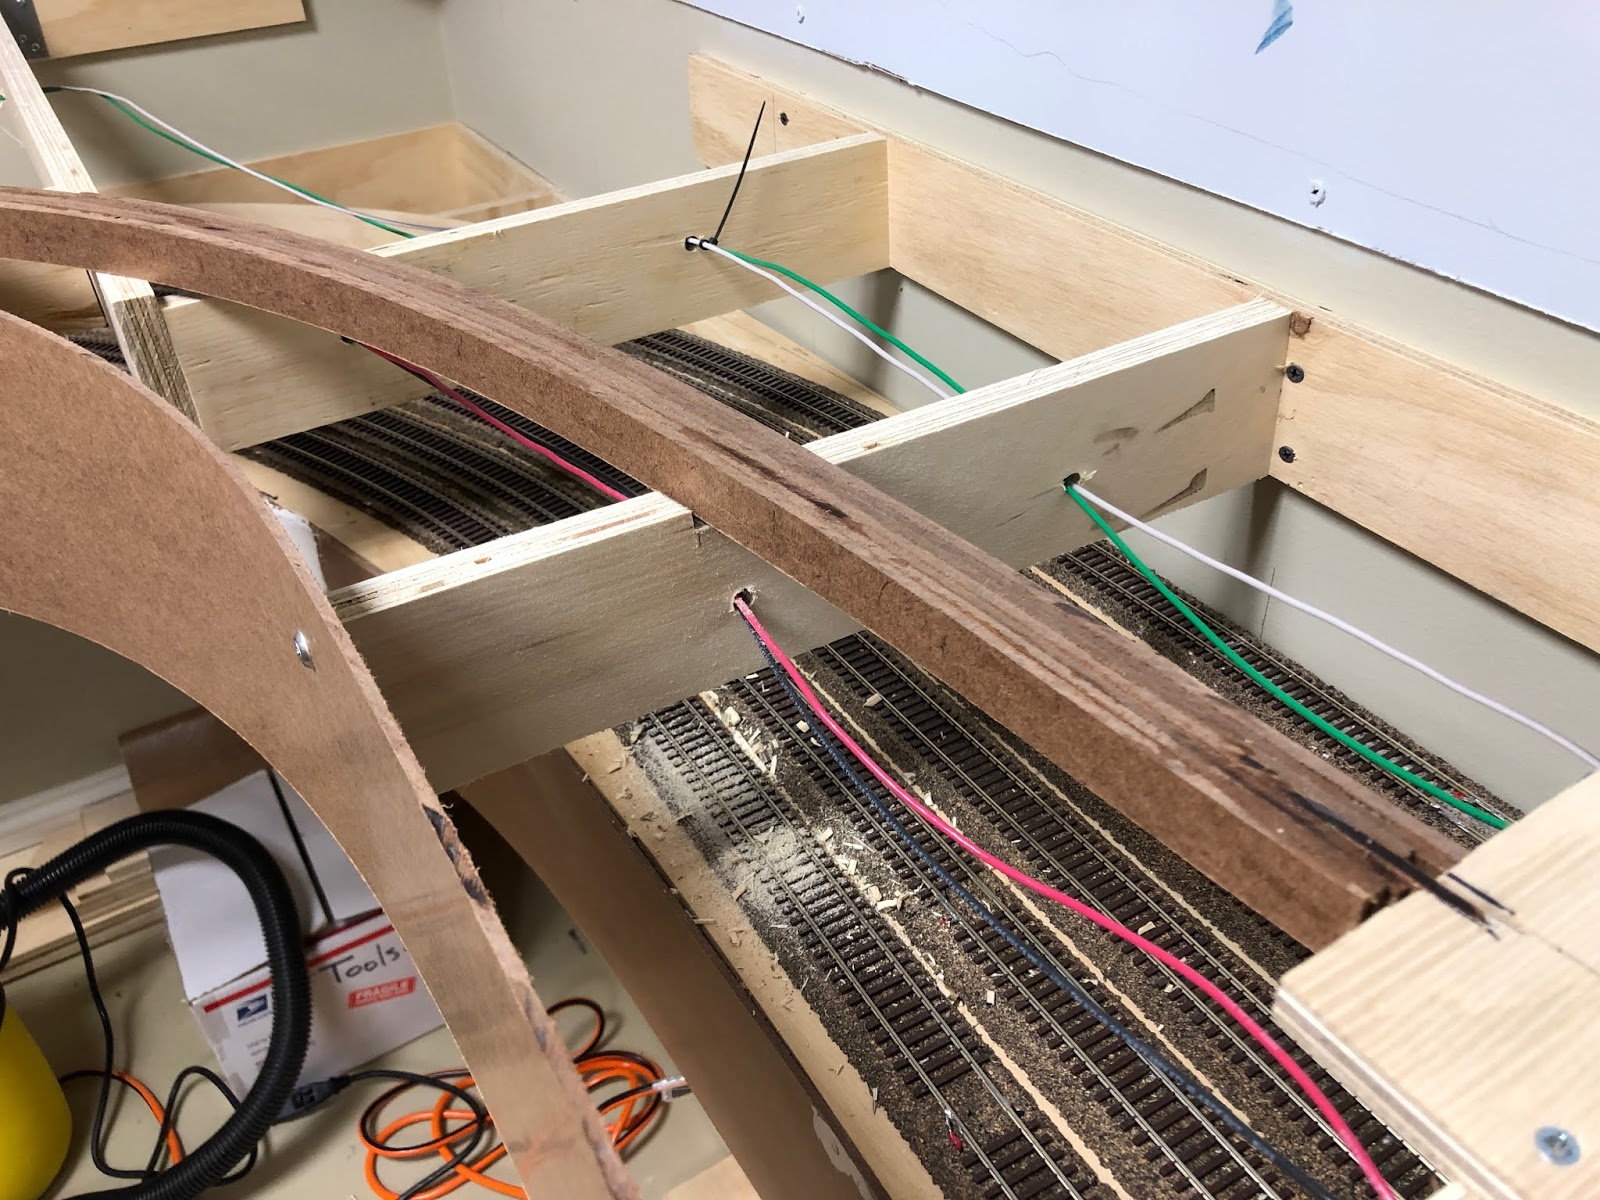
Similar to my fascia I use 1/8th masonite hardboard for my backdrops. In most instances, my backdrops are hung with screws directly onto the wall and into the stud so the thin 1/8 is not an issue, but a good starting point and smooth surface for further painting. I recently completed installation of all the backdrops on the railroad. 


The backdrop for the Salmon Creek area near Oakridge screwed into place.


In progress image of installation in the Salmon Creek/Oakridge area (lower level) and Abernethy/Noisy Creek area (upper level). Note my use of 1/8th "tabs" to create a joint between pieces. This serves to hold adjacent pieces of backdrop together when joints meet between studs.


I

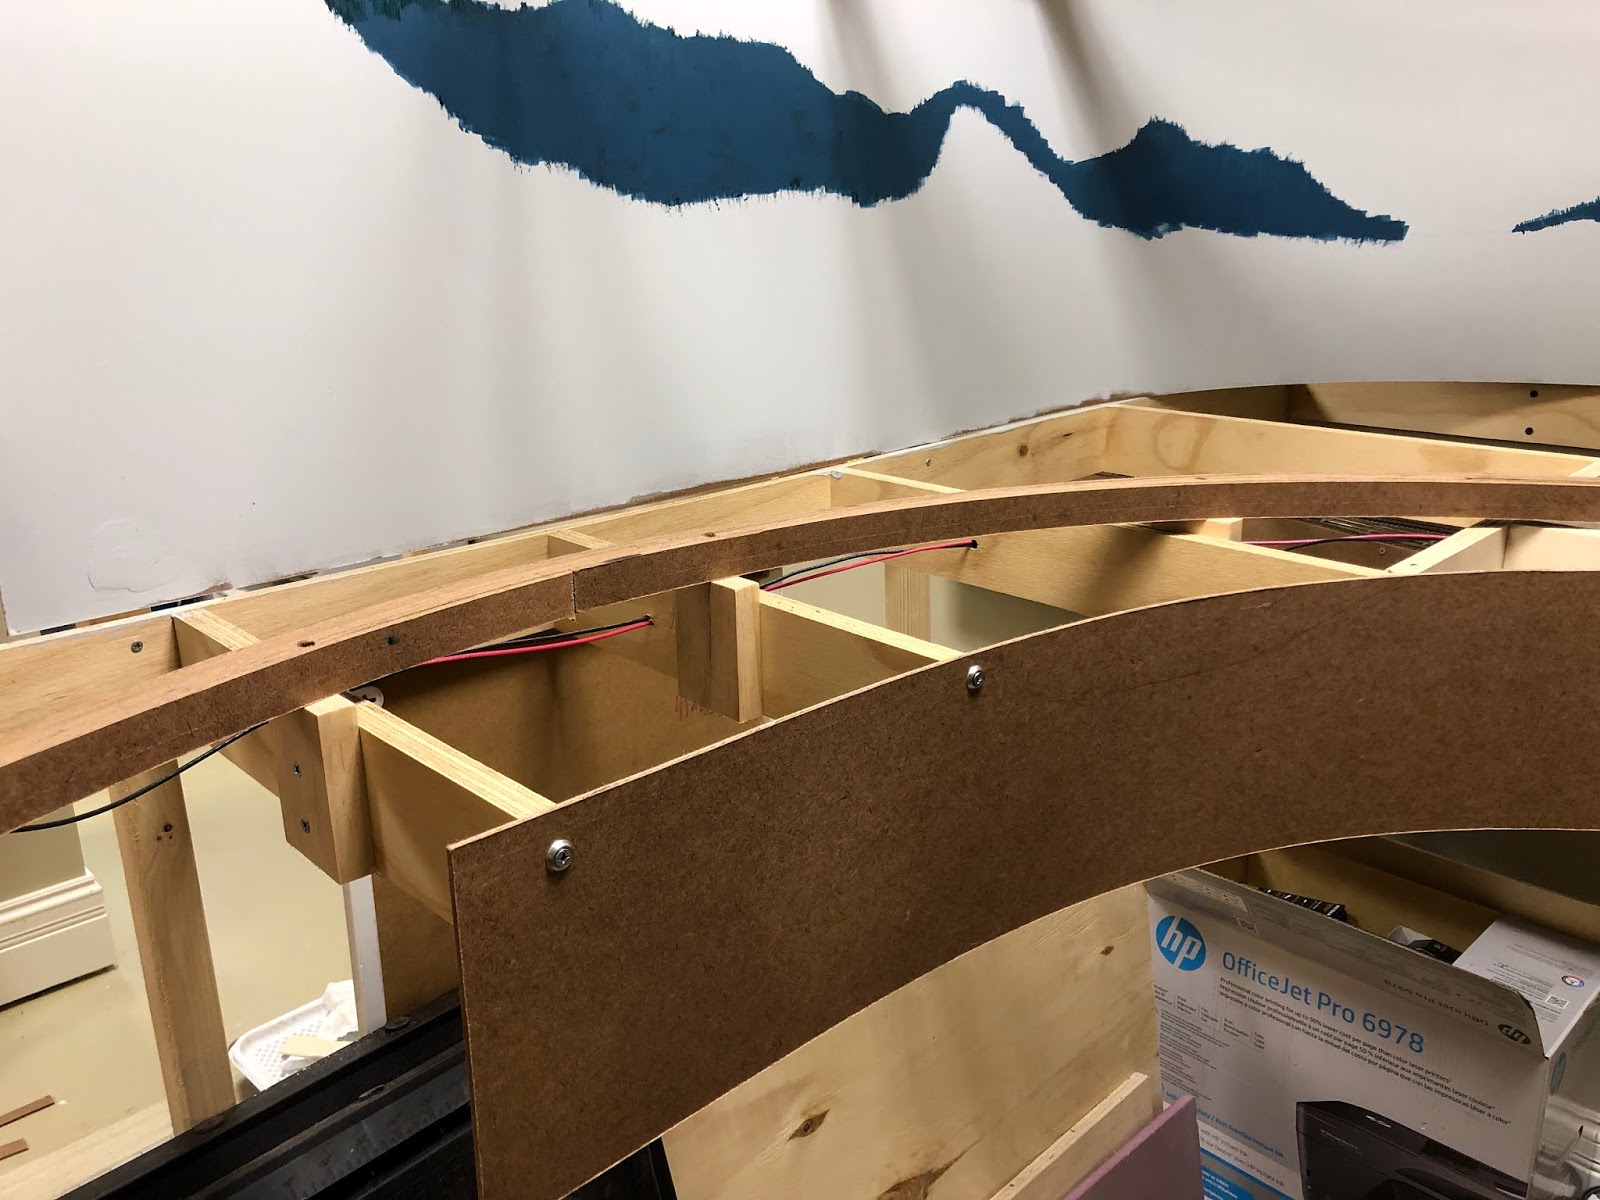
Backdrops installed. After I have fit and hung all the backdrops I go back and work on the joints and screw holes, countersinking and sanding to create a smooth surface.


In the final step before painting I "mud" the screw holes and seams. Sanding cleans up and hides these imperfections before paint. 


The sky color, or in my case "overcast" color is the first layer. I use a paint and primer (2 in 1) allowing me to only have to use two coats. I allow this layer to dry completely before proceeding. 

Time was a major issue in previous painting efforts. I was spending way to much time painting a small area to a high level of detail, which was taking me away from my initial goal of simplicity, though the results were great. In an effort to expedite the process, I have divided my painting into two steps: base scenery and final details. The goal of final details is in the name and will be done along with scenery, specifically close to tree installation so I know exactly which areas of the backdrop need the most attention and detail.

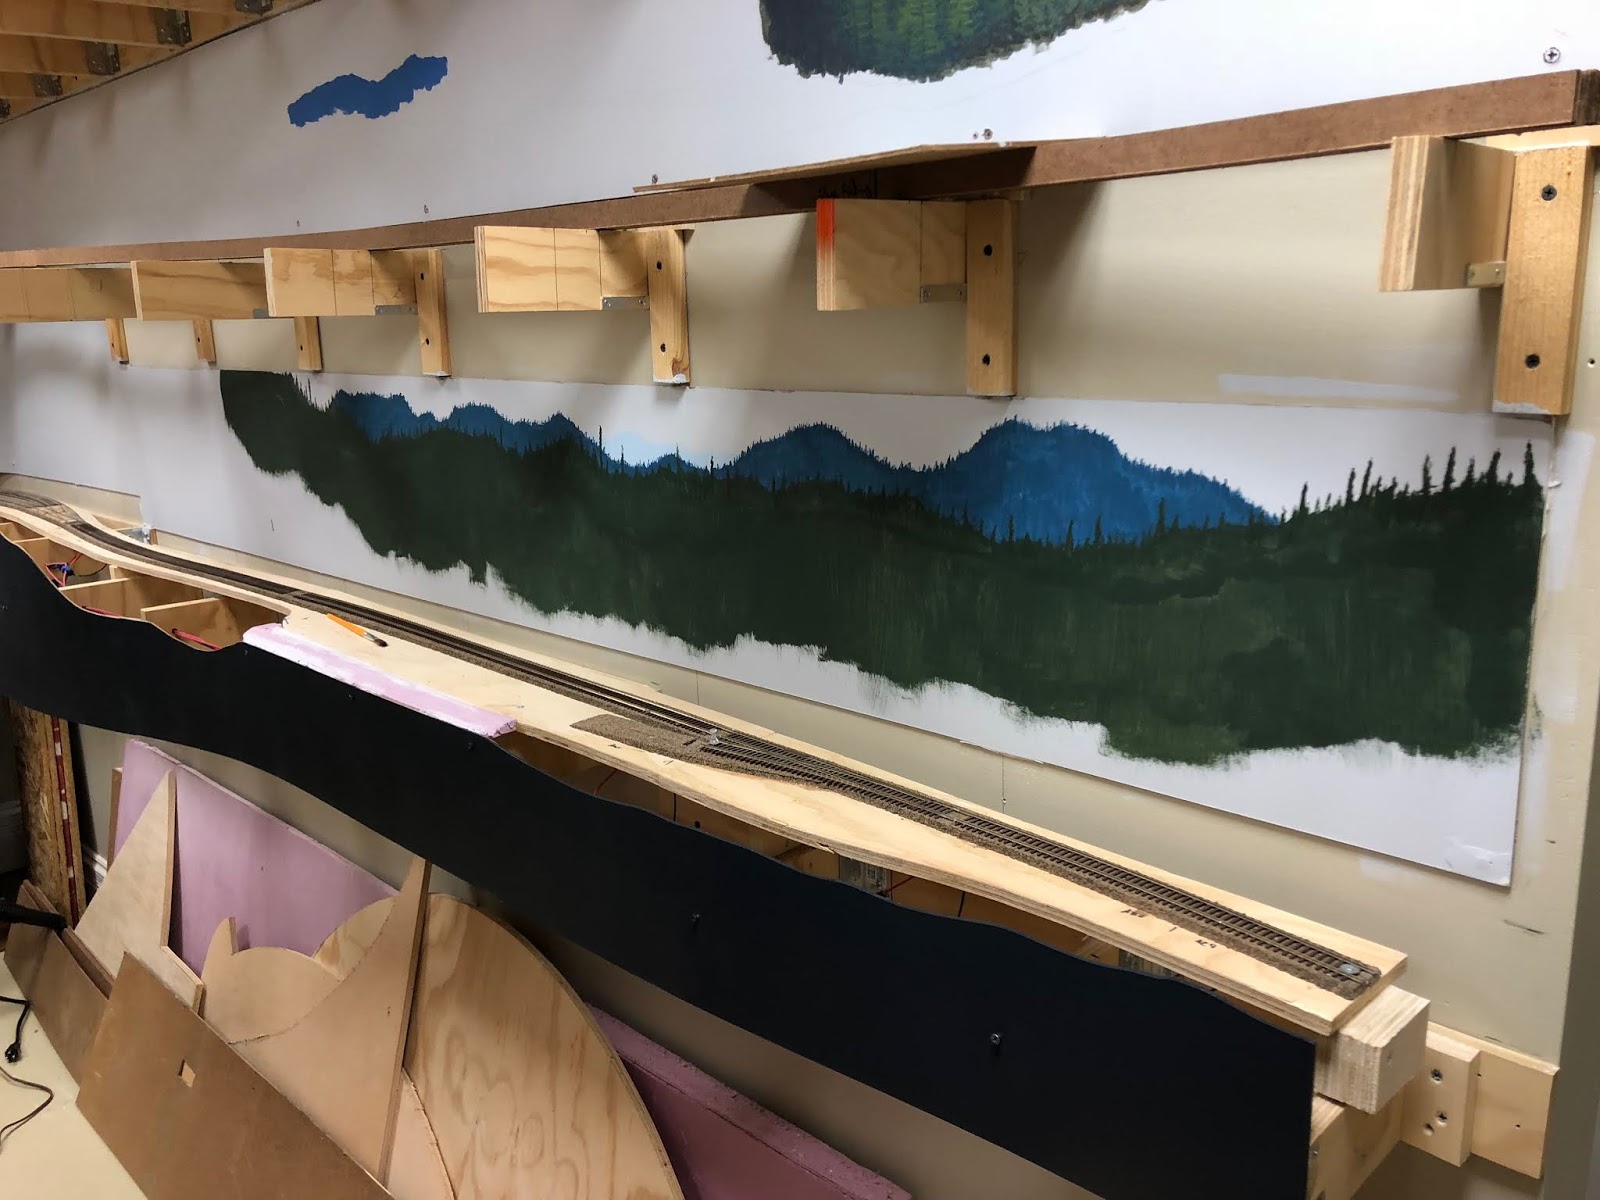
Base scenery, however is all about color and shape. I use three colors to establish very distant, distant, and mid to foreground hills to quickly and efficiently expand my scenes. Additionally, these colors serve as a base for where I want to add more detail later in my scenery process. My past painting efforts allowed me to choose three colors which I purchased in sample size at the local hardware store.

With this new painting method I can paint a substantial length of backdrop in a much shorter time frame. The pictures below help illustrate this process.


In Westfir the two distant hill colors are in. As always I work furthest to nearest and focus on shape and color to indicate tree covered hillsides, not paint each one. Given the "in the valley" feel I am working towards here in Westfir, the "mid-ground" hills are most prominent behind what will be a fairly tall foreground. 


Above is all I am trying to achieve in my base scenery stage. What has been painted is a great start for my basic terrain work for 3D scenery as well as a good base for later painting. 

As development in Westfir continues, I will pick up the topic of backdrops again in my work on terrain forming as well as scene planning and development. Future posts will detail these processes, as well as some techniques for integrating the backdrop into the scene for the most realistic and convincing effects.

Friday, January 4, 2019

Fascia-2: Completing Westfir

In a previous installment a few weeks ago I discussed initial installment of the fascia in Westfir and part of Oakridge, some of the first scenes visitors to my railroad see. Since, I have completed these sections, and want to give an overview of the process I will use for the rest of my fascia work on the railroad. 

Just beyond Tunnel 22 the mainline curves into Oakridge with the tracks sweeping back against the wall. This leaves an area just in between the aisle and tracks for a few homes and streets to give a good sense of place. When planning the fascia, I also considered where and how these streets would intersect the edge of the layout, and cut the terrain profile to reflect this.


Terrain profile drawn onto the fascia for cutting in the Oakridge residential area.


Profile cut and sanded, ready for paint. 

In preparation for painting the fascia I removed the screws and finishing washers and replaced them with screws that I didn't mind getting paint on. I elected to use a color called "Dredge Grey." It turned out to be more navy than grey, but I really like the appearance. Two coats did the job. The semi-gloss finish looks really clean in person and gives off the slightest sheen. 


First coat of paint on in Westfir. Note the temporary wood screws.


First coat applied at Tunnel 22 and the outskirts of Oakridge. 


The finished fascia with two coats of paint and finishing screws back in place.

The last image best captures the look I am going for and what I have been able to achieve. The cleanliness of the fascia is exactly what I am going for. Also, I have started to paint the backdrops in Westfir and Oakridge with a slight modification of my previous technique which I will discuss in coming posts.