The Winter 2018-2019 construction phase commenced earlier this week with fascia work in Westfir. After some time away from working on the railroad, Westfir, the very first scene on the railroad will be a major focus over the next few weeks and will feature in a variety of posts on various projects including fascia work, track painting and detailing, backdrop painting, and terrain.
Given the narrow spacing between decks, I decided on a 7 inch standard depth for fascia on the first level. The goal of the fascia is to cleanly define the scenes, but not overpower them. I plan to have minimal distractions on the fascia save for location names and mileposts.
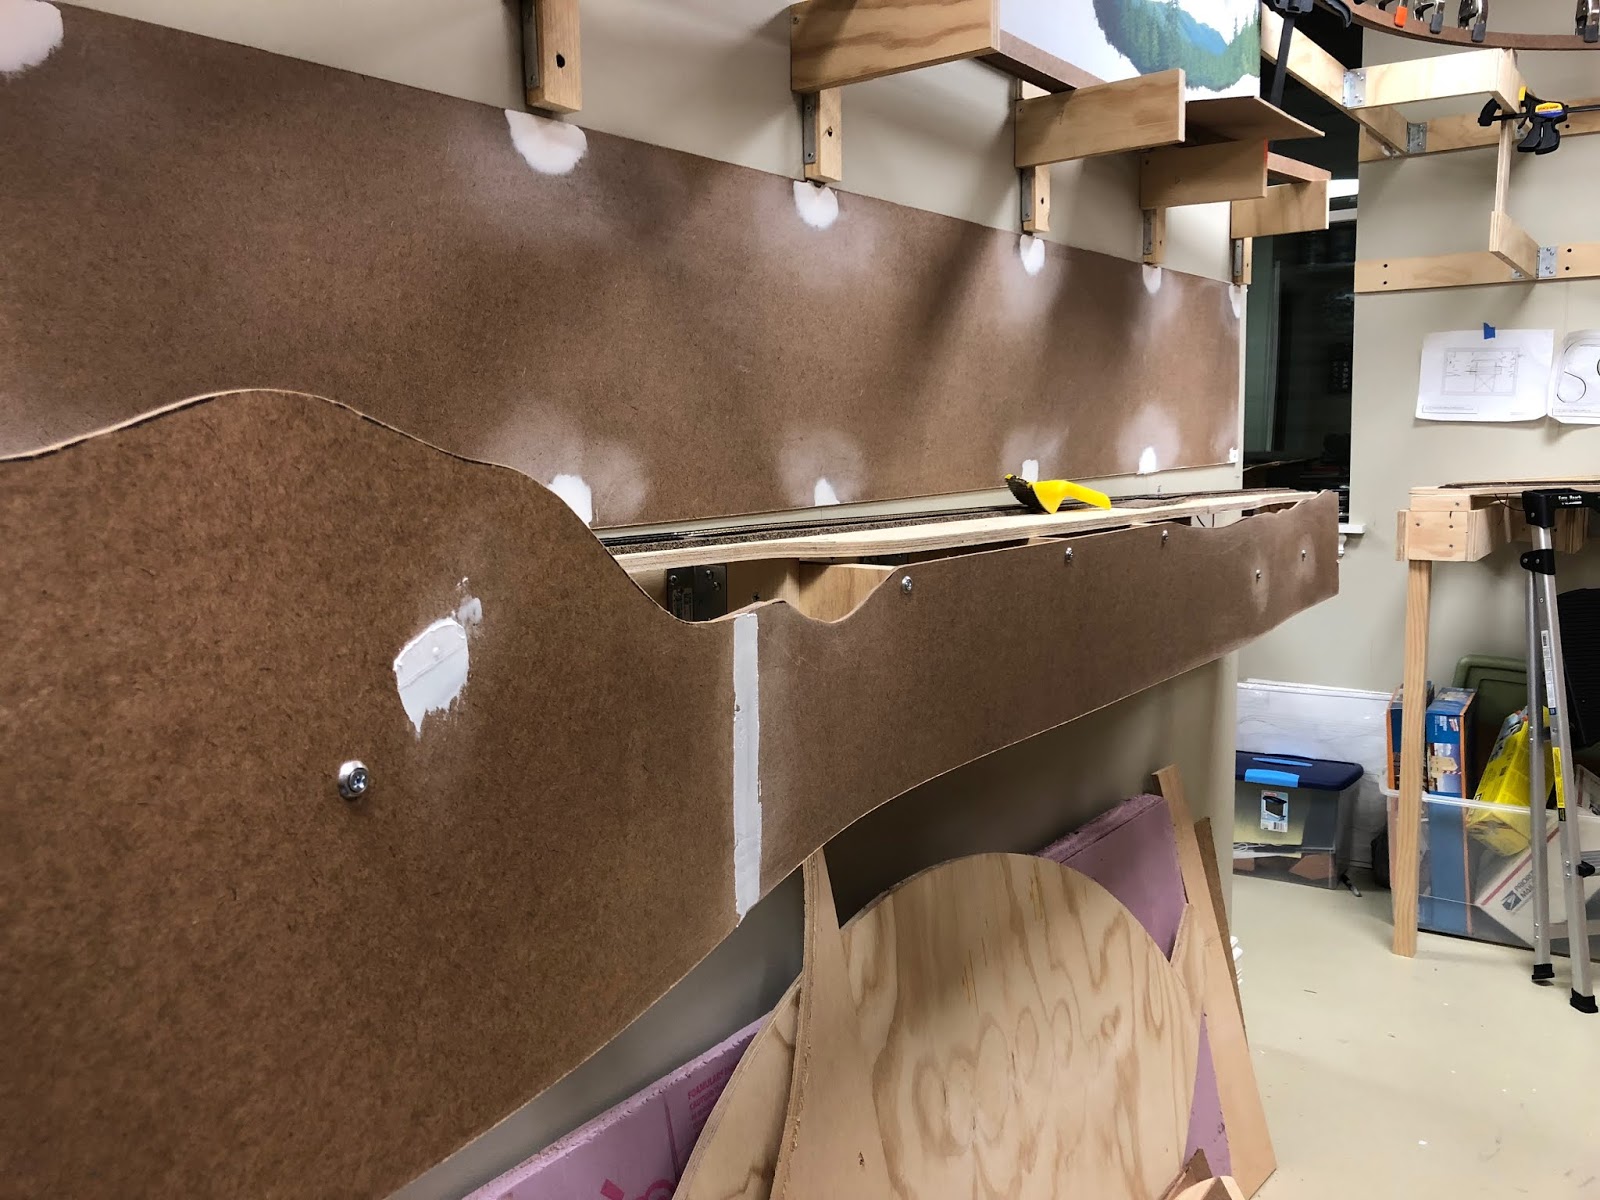
I started by fitting an 8 ft. piece of masonite I had ripped to width with my table saw. At the south end of Westfir, Tunnel 22 interrupts the scene and serves as a scenic divider between Westfir and Oakridge. To accommodate the change in terrain for the tunnel, I fitted and spliced in a taller piece of masonite that was shaped to match the profile of the future terrain.
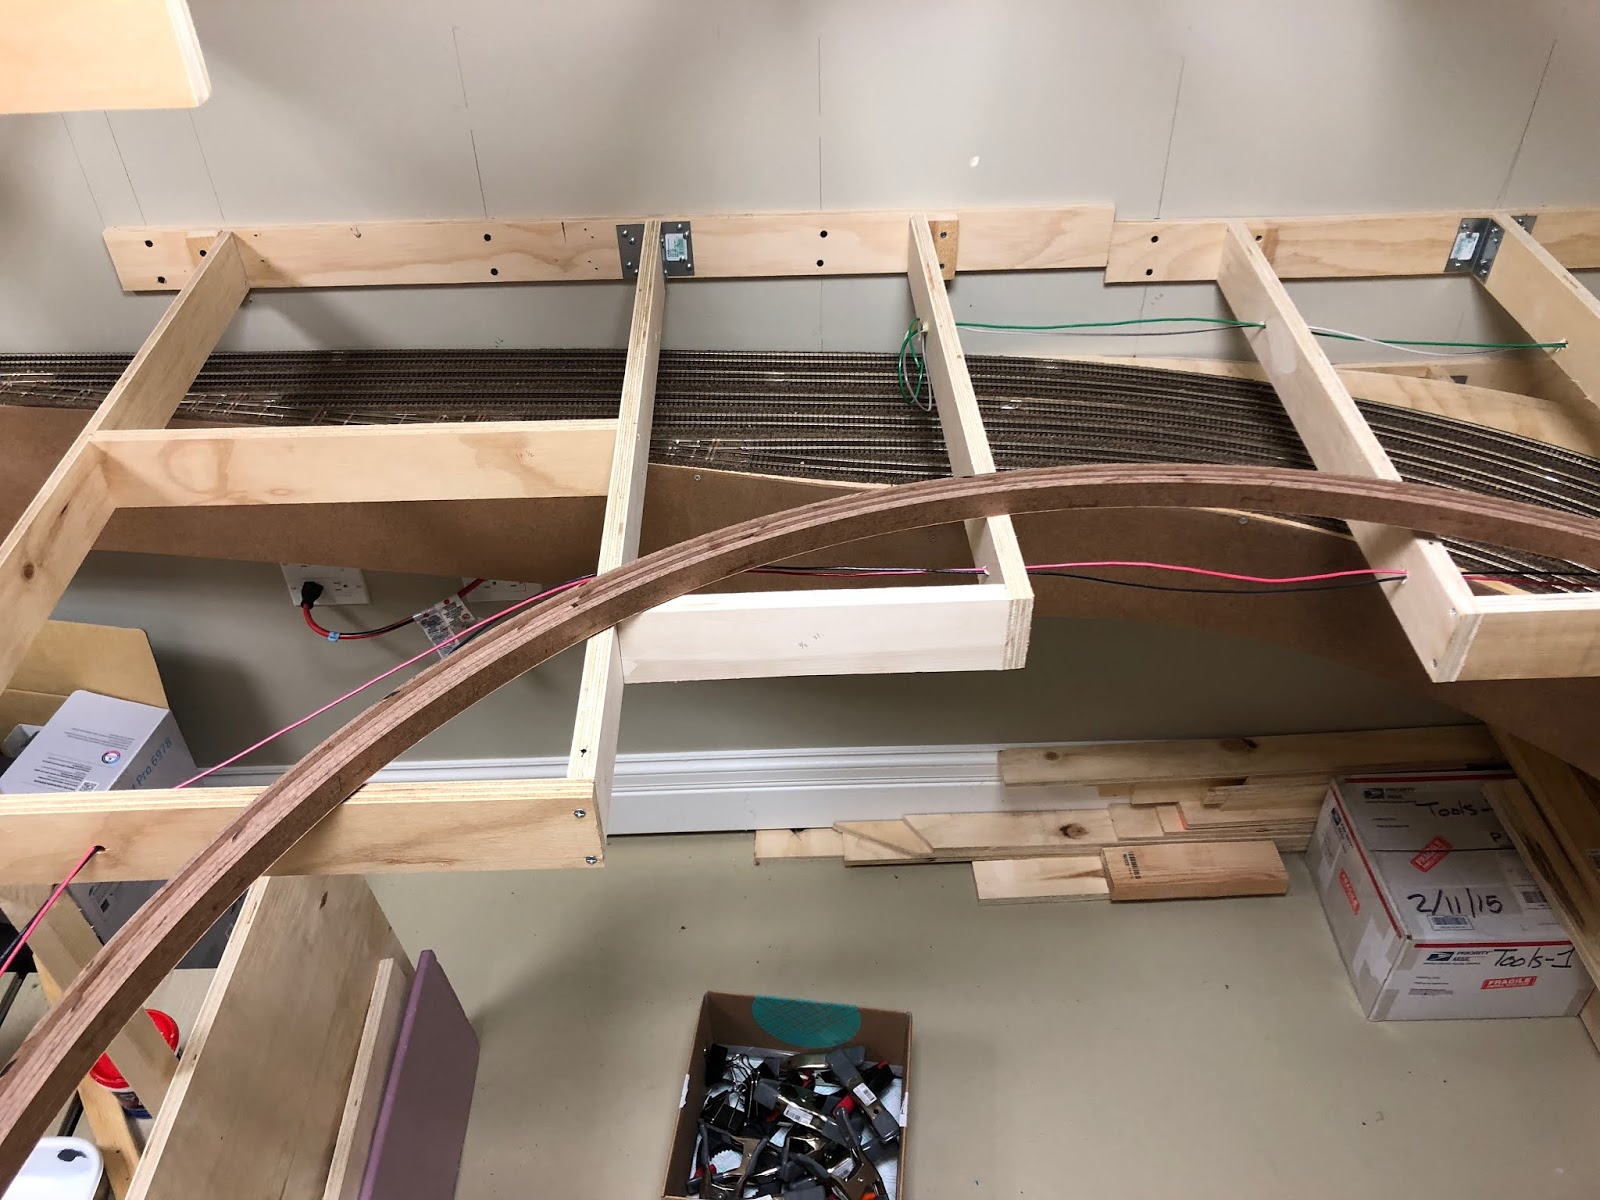
Fitting the larger terrain profile for Tunnel 22 between Westfir (right) and Oakridge (left).
The standard sized fascia piece for Westfir tacked in place with temporary wood screws.
Profile for Tunnel 22 cut and clamped in place for fitting.
To secure the fascia to the benchwork I have opted to use #8 wood screws with finishing washers. This is a method that has been done and documented previously and I liked the look of screws on the fascia. Returning readers will remember I countersunk and spackled over the screws on the fascia for my staging yard, but I wasn't pleased with the results and the amount of work the achieve a decent result.
With the finishing washers, the fascia, despite the presence of the wood screws, maintains a clean and professional look.
To connect pieces of masonite seamlessly I originally planned on using scrap plywood, wood glue, and a few screws to hold everything in place and in alignment. I found, however, that with careful sanding and fitting, a scrap of masonite glued over the join on the backside of the fascia with wood glue provided quite a clean and strong joint.
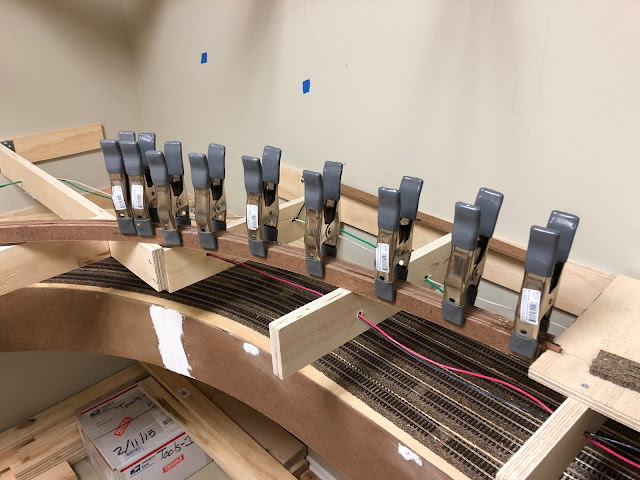
Clamps hold everything in place as the glue holding the joints together dries.
To finish initial construction of the Westfir fascia I cut a simple terrain profile with my jigsaw. I was careful not to just cut a wave pattern, but to account for natural variation in terrain and also engineered drainage features, namely a culvert. Additionally, I lightly spackled the joint between the two masonite pieces as well as a small hole in the Tunnel 22 profile piece.
Westfir fascia initial construction complete with spackling and profiles cut.
In future posts regarding fascia work on the railroad I will discuss my techniques for painting as well as detail continued construction through Oakridge.
Final Note: I am changing the way I post updates to allow for more continuous content throughout the year. Moving forward I will post weekly updates (Fridays) documenting 1 or 2 of the projects I am working on. In this way I can write more about each aspect of the railroad, as well as give each project its own post to make information better accessible for each topic.