The passing siding at Fields on my Cascade line sits on a narrow (6-10 inches) shelf of the middle deck. It is the second scene viewed upon entering the railroad room, and given it is at eye level for most people, it is a very in your face, here I am, mountain railroading scene. Trees, rocks, and trains are the easy part when modeling the Oregon cascades, but the struggle is creating depth when the scene is so narrow and the viewer is so close. Follow along as I outline my method for painting the backdrops in my narrow scenes.
I have posted in the past on the methods I have used previously for painting my backdrops, mainly for scenes with depth (+12 inches) where all the scenes needs in terms of background is the idea of far off hills and trees. That can be found HERE. The backdrops in the Fields scene are very different though, with only, on average, 8 inches of railroad, and 4 of those occupied by the mainline and passing siding. In short, I needed to up my game in terms of realism and detail.
A major tenant in my previous method was simplicity. I use only 3 colors of cheap acrylic craft paint plus my sky color, a very light gray representing mainly overcast skies, and two brushes. Note, now that I am confident with how I want to proceed, I will switch to higher quality artist acrylics. Additionally, the subject matter, is not painted in full, but shapes and color are used to give the impression of mountains and trees. We are merely painting indications of trees and ridges, not individual trees.
I always start from the very back of the scene and work my way forward. In this way we can create depth with layers and color more realistically than trying to paint the distant hills last.

In the above photo I have painted in the base color for the furthest set of hills. This is merely a mixture of blue acrylic and my sky color. It is very important to include the sky color and it will help everything blend together. Also notice just how narrow the scene is.

Next, I started working with variations of the blue base color to start giving form and shape to the distant hills. When working, I keep moving with a consistent pace, not letting myself think too much, just painting and working with colors until everything looks right. Note that here we are working dark to light and thinning the paint with water. Again, only using my sky color, a blue, and a green as well as a small brush. It is crucial to give every color variation mixed, even the greens, a hint of sky, and a hint of blue to indicate distance.

Above is the completed distant hills. Probably a little too much green, but I like how it looks. In the future I want to work a little more with the shape and form of the hills as these are a little too eroded and look more Eastern US than Oregon. The foreground will fix this though.

A view of the entire scene. Railroad entrance is just to the right.

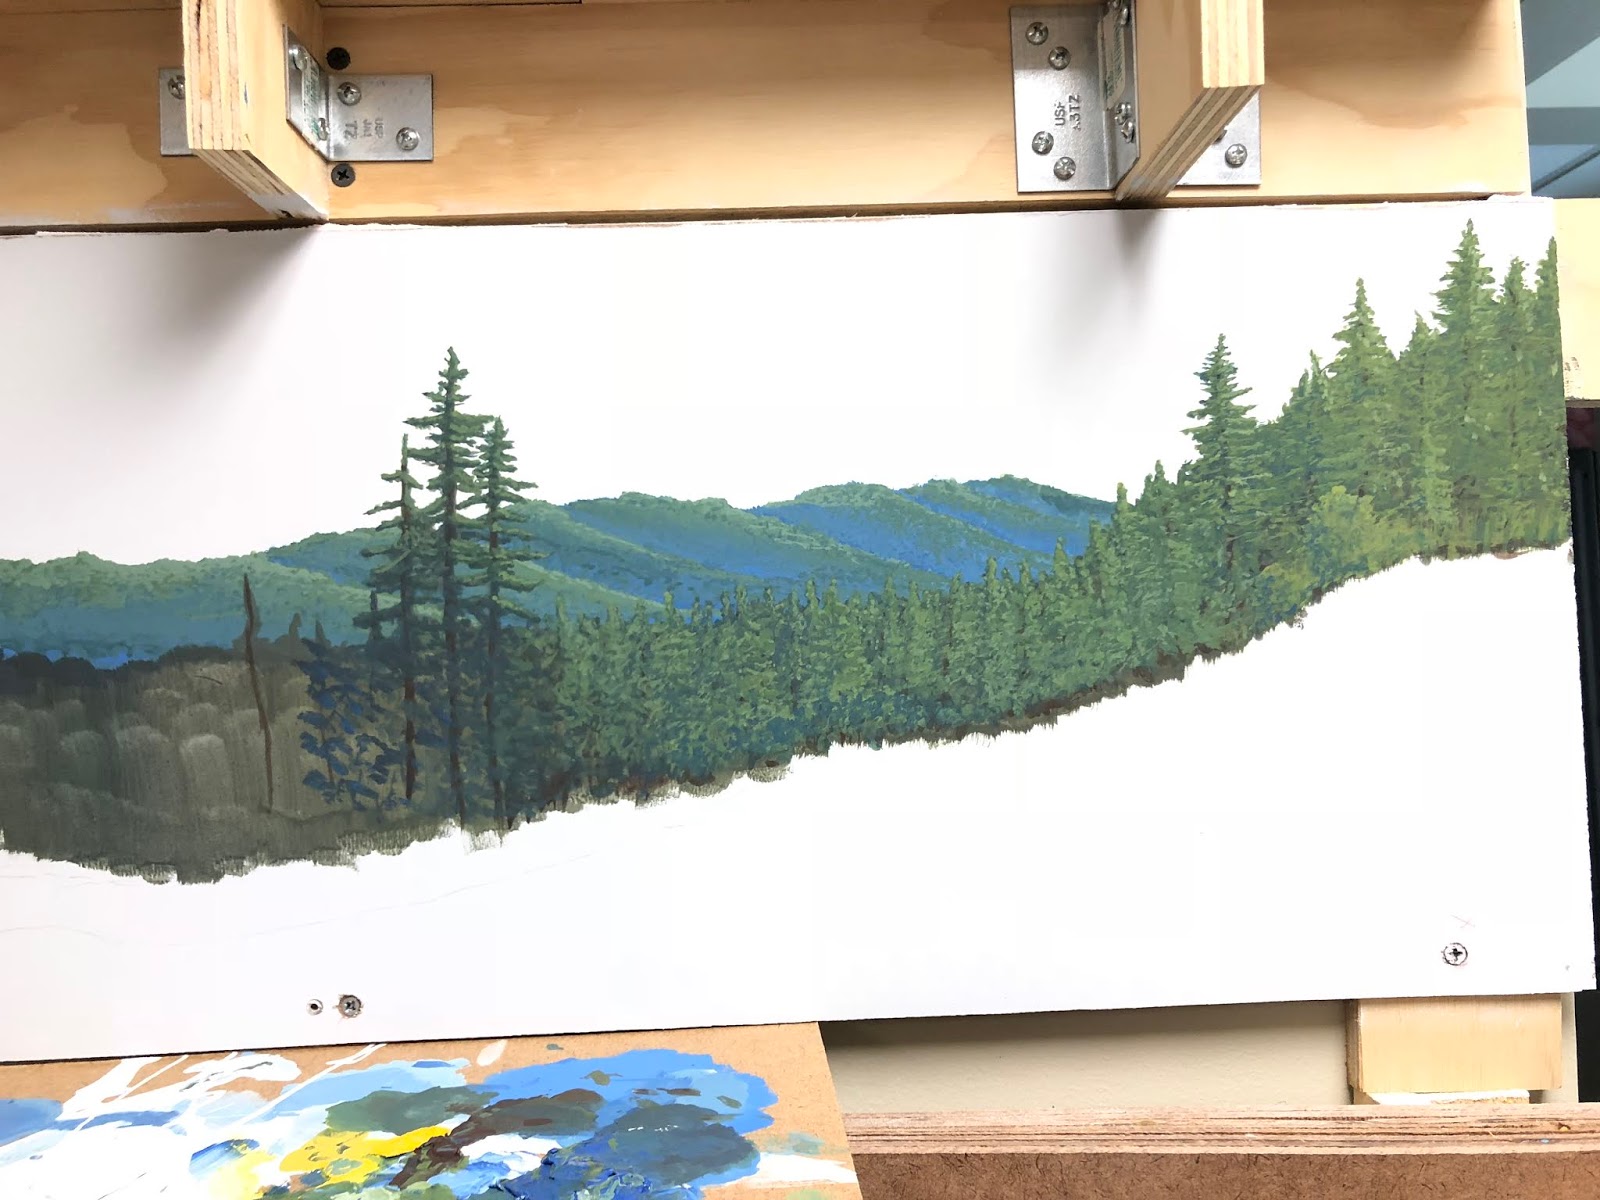
After the distant hills have dried, I came in and started working with the immediate scene. Again, I started with a dark, drab green base and added this to the general area of the foreground painting. Next, and it is crucial to stay calm and keep moving at this step, I simply added color and shape. In the above photo you can see how awful this looks and I had to keep reminding myself that all I was doing was adding color and shape. It is a process! One thing to note is even though we are working dark to light it is important keep the dark as each new layer is added, as this preserves the shadows to give our 2D painting depth.
A few hours in and the forest is starting to develop. Remember our rule: keep it simple! I do not paint individual trees when painting the general forest as seen on the far right, but am merely using my colors to bring out the general shapes of individual trees. With lighter colors, remember where the light is coming from (in my case the right) and let the individuals of the forest come out. From this viewing distant one can make out a few individuals but up close all you can see is various shades of greens, blues, and browns.
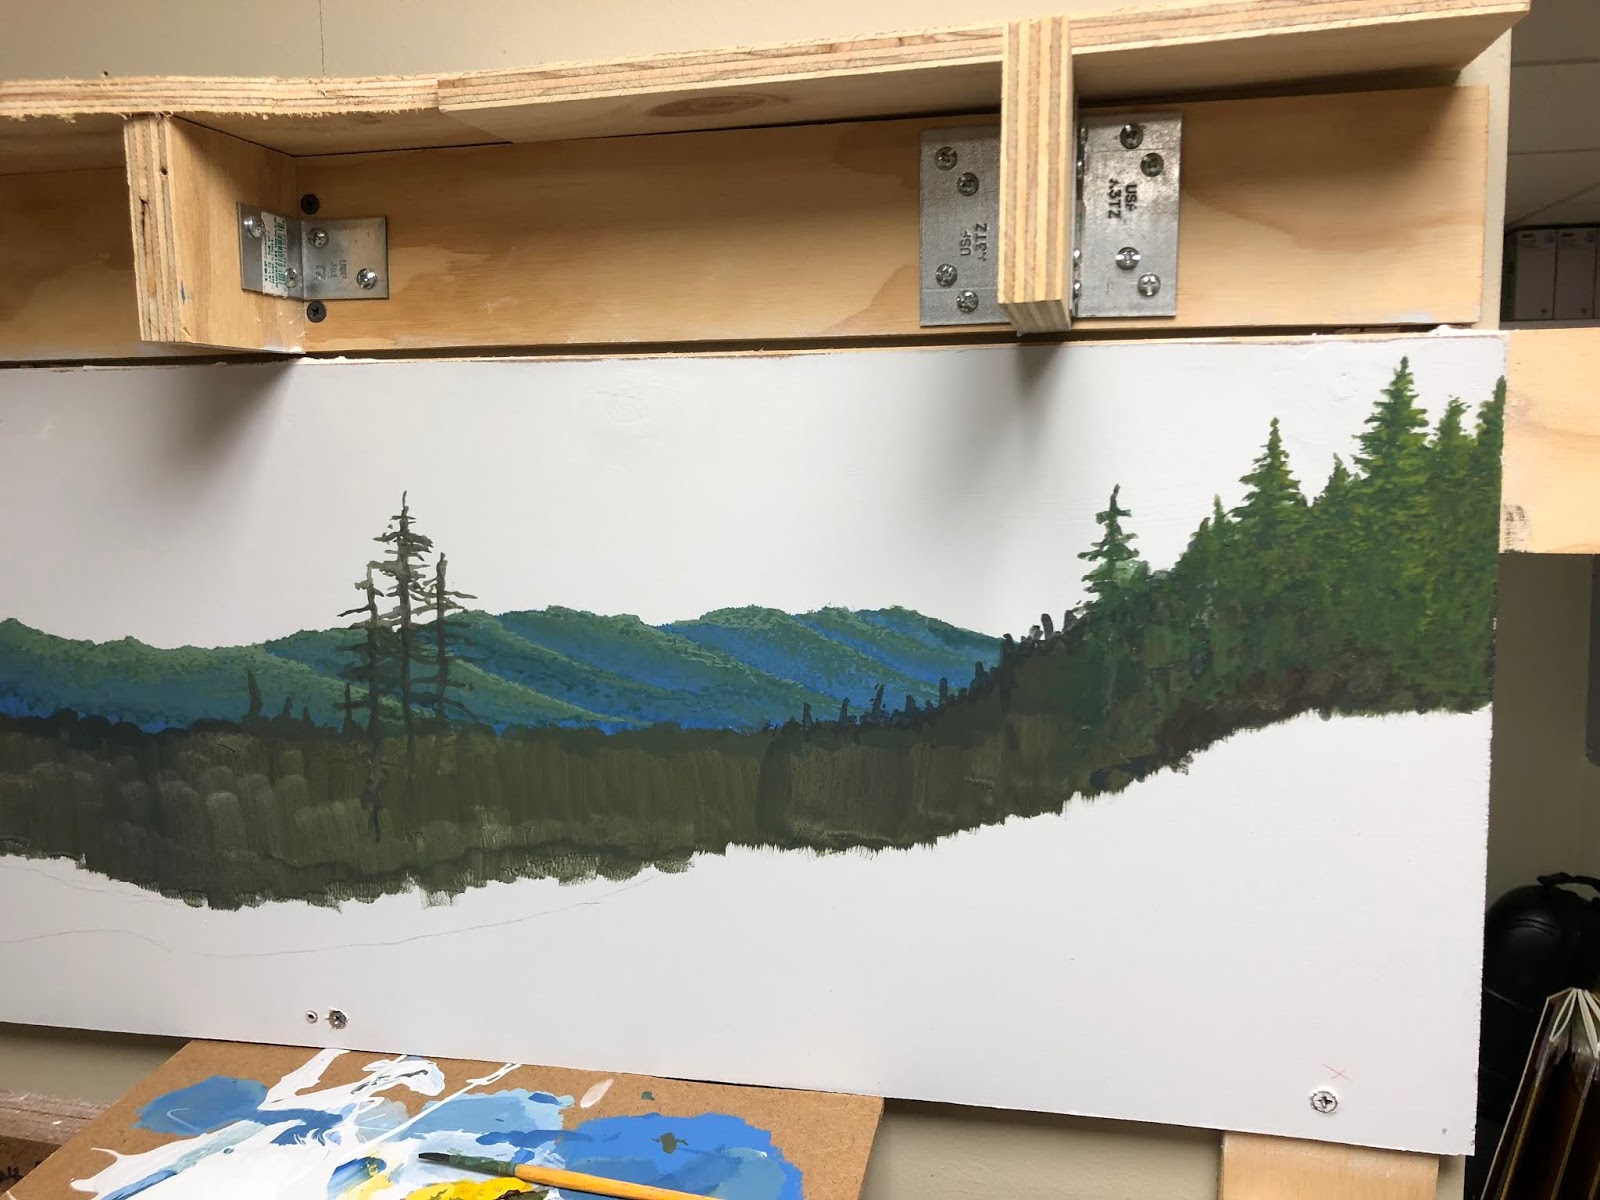
Here is an overview of the work-in-progress backdrop. The very far right is most complete as I work right to left. I will paint those few taller individual trees, but the methods do not change. I work from dark to light and let shape and form develop with color.

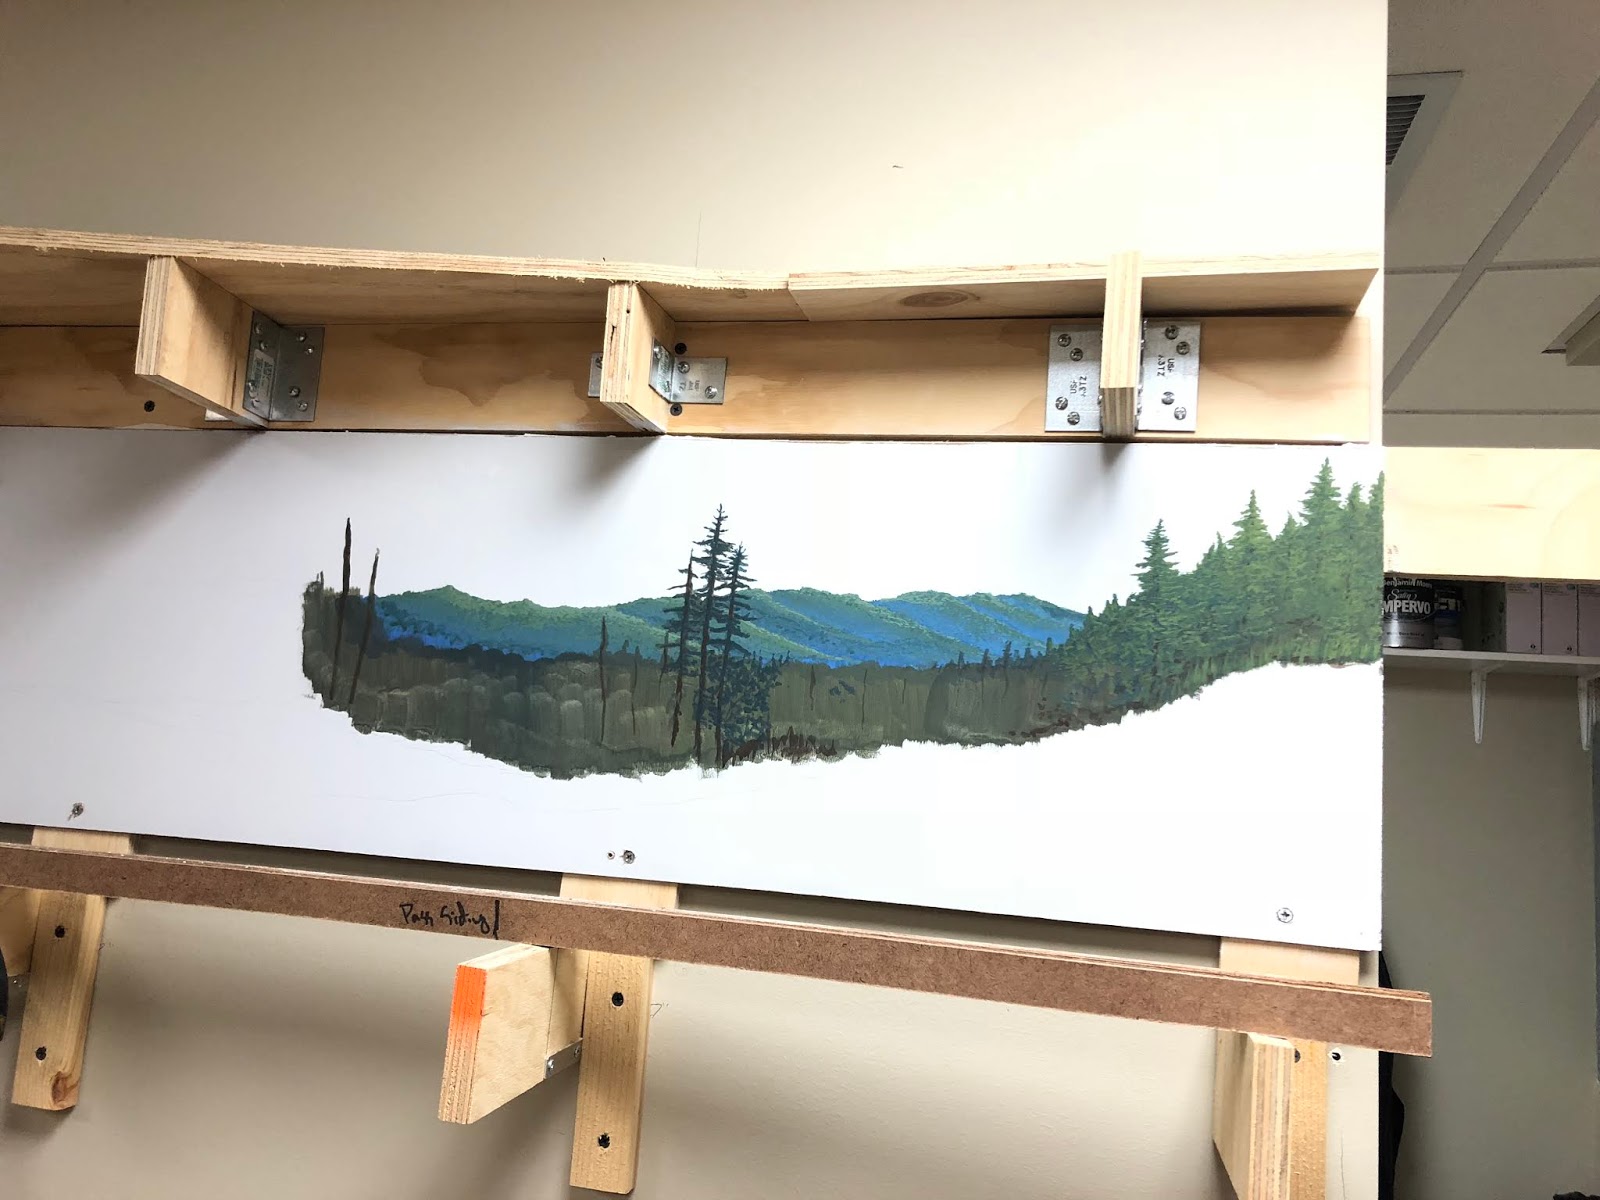
Final shot of where progress stands. To the right is the completed and moving left, the progression of base to forest can be seen.
In closing, the only downside to this method is time. The scene as it is above has taking me close to 4 hours over various sessions as it requires many many layers slowly working from darkest to light. I have gotten quicker as I have a better idea after those multiple hours of how I want the colors to looks and the best way to develop the shapes and colors of the forest, but it can only be expedited so much. Despite this, I wanted to share my method as I feel it is producing some very believable backdrops for little cost and effort. With scenery, I feel these will provide the appropriate depth to Fields to make it feel deeper than just 8 inches.